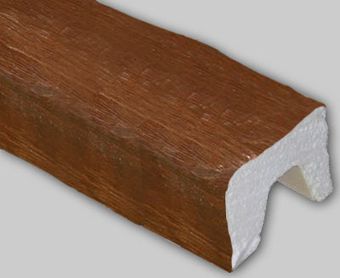
 Decorative beams
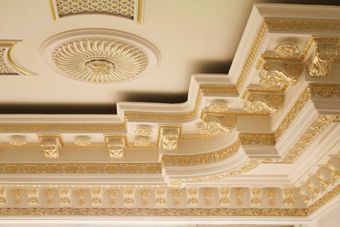 Smooth cornices
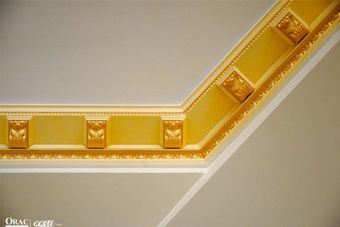 Cornices with ornaments
 Concealed lighting cornices
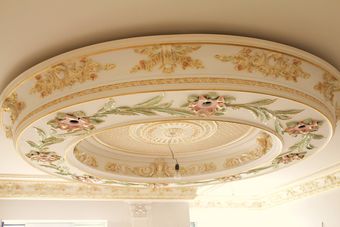 Polyurethane domes
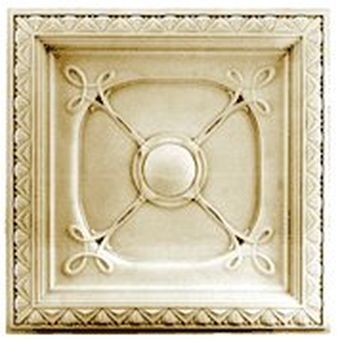 Ceiling tiles
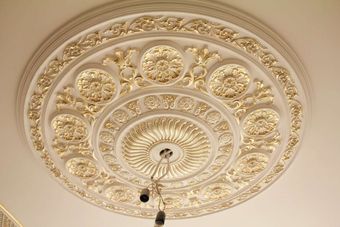 Decorative rosettes
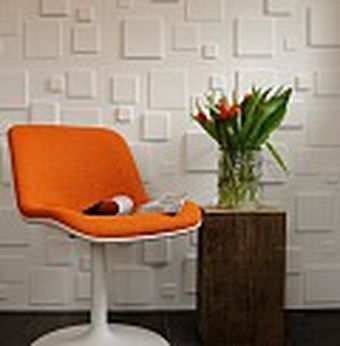 3D panels
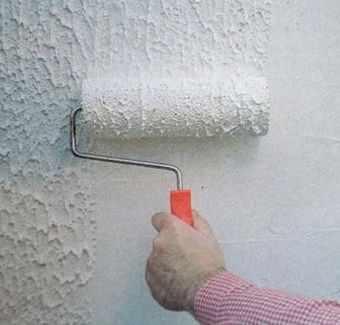 Liquid wallpaper
 Door frame
 Columns and semi-columns
 Moldings
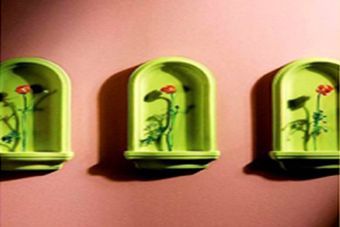 Wall niches
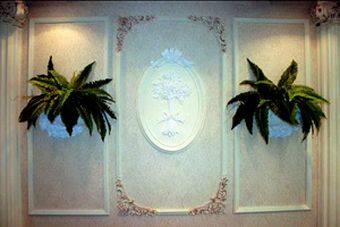 Ornaments, panels
 Fireplace panels
 Pilasters
 Corner elements
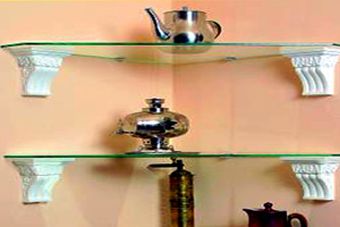 Brackets, consoles
 Photo paintings
 Texture wallpaper
 Self-adhesive tiles
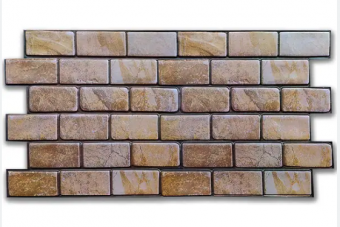 Decorative PVC sheet panels
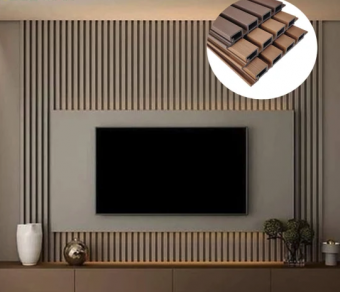 WPC Decorative Wall Slats
 Carpets
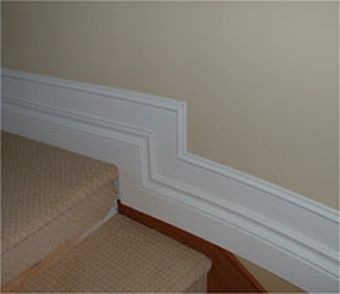 Floor skirting boards
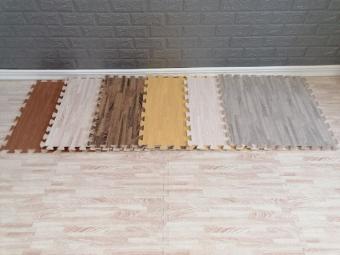 Soft floor puzzle
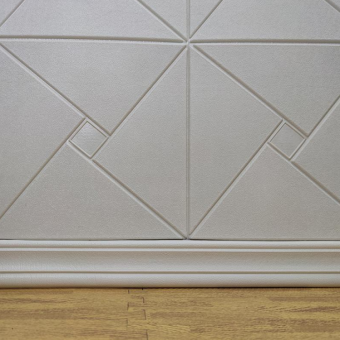 Self-adhesive skirting board
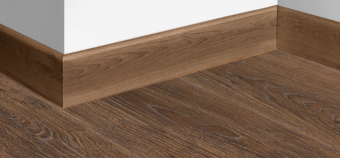 MDF plinth
 Self-adhesive carpet
 Curtain rods
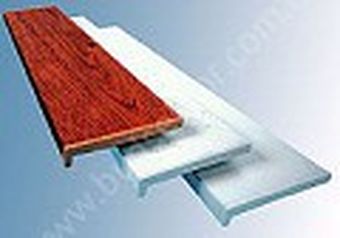 Window sills
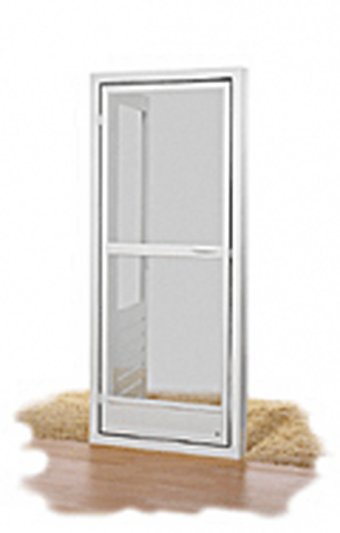 Mosquito net
 Photoblinds
 Photo curtains
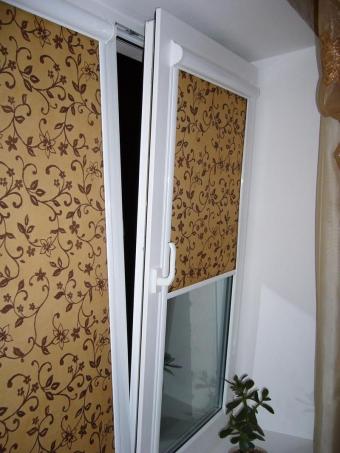 Roller blinds (roller blinds)
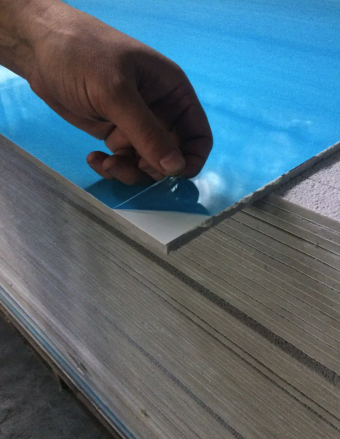 Sandwich panels
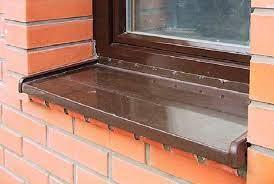 Window sills
 Doors Omis
 Liquid nails and glue
 Photobed
 Table tops
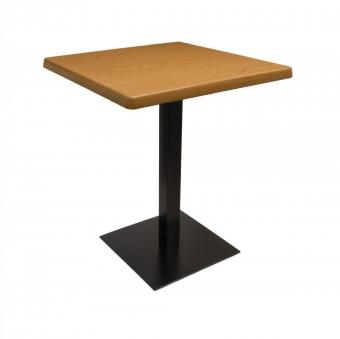 Table supports
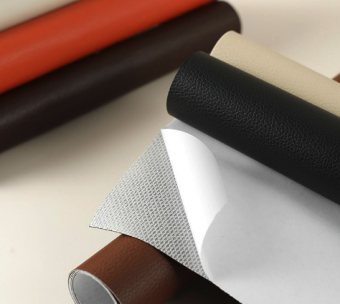 Self-adhesive eco-leather
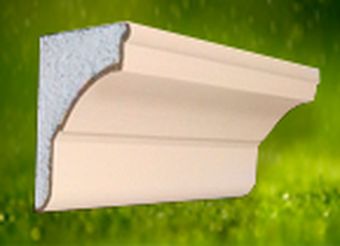 Cornices for facade
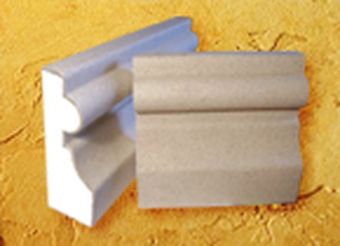 Moldings for facade
 Columns, pilasters
 Balustrades, balusters
 Window framing
 Bassages, rustics, castles
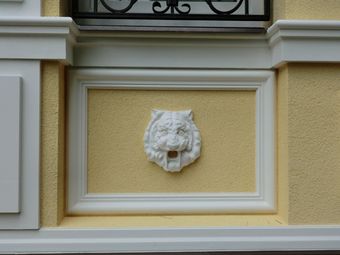 Sandriks, decor, bas-relief
 Drainage systems
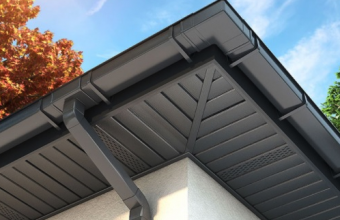 Soffits
 Facade panels
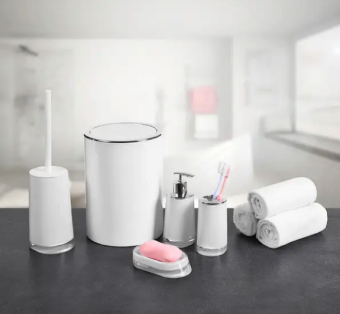 Bathroom accessories
 Kitchen accessories
 Accessories for the hallway
 Accessories for cosmetics
 Household chemicals
 Materials for street decoration
How to glue a foam plastic ceiling plinth
The ceiling plinth should be glued before painting the ceiling, and not after wallpapering.
Be sure to buy only one batch, smooth, not grainy, pressed from granules - they are visible.
You need:
stepladder,
glue (no lumps),
a brush and a container of water, so that, once wet, you can remove the exposed glue,
Be sure to glue the ceiling plinth before the wallpaper and final painting of the ceiling (and paint it together). Do not press the ceiling plinth into every unevenness of the wall - even if not in a straight line, then in smooth arcs: otherwise the ceiling should be almost perfect.
It is better to then putty the small gap near the ceiling, and apply putty to the adjacent wall at the level of the lower edge of the baseboard.
No sealant needed! You can use white liquid nails.
Sand the wall junction (you can do this before sanding the wall), and before the final painting of the ceiling, sand the joints and the bottom flange of the plinth - remove the “bloopers” of putty.
Apply the glue in dots - every ~10 cm - they should spread into “bloopers” when gluing.
Cut off all the original ends, because they do not fit well, but only after the corner ones. The joint must be made in the middle of the wall - it is straight 90 degrees,
Inspect the glued plinth from all sides from the floor: how it looks is exactly what it looks like, but how it actually is is not significant...
Before gluing the ceiling plinth, you need to figure out whether it fits into the corner?
Cut into the following corners (or all at once - with a length margin of 3 cm per wall), immediately check the convergence of the corners.
Cut off the excess (along a straight joint in the middle of the wall, and not along a corner) - before the next corner, trying on the piece to be cut, connecting it in the corner with the next one and making a mark on the wall or baseboard with a knife.
Avoid short pieces - it’s better to have two medium ones than a long one and a short one (kinks are most likely on them).
Joints, except corner ones, should be puttied the next day with gypsum putty with the addition of water-based paint.
Run the edge of the spatula along the foam baseboard, sand with the remains of the ceiling skin, rolled into a tube or folded in half...
Then prime and paint the ceiling along with the ceiling skirting boards.
Small cracks near the ceiling can be covered with the same hard brush that was used to remove excess glue.
You can only round the foam plinth with a very large radius - by making frequent cuts on the reverse side with a thin hacksaw blade (but not to the very end), and puttingtying them on the face after gluing and drying, just like the joints, but with a brush. For these and other irregularities, you need a supply of plinths, and it is better to start experiments on the frequency and depth of cuts with scraps.