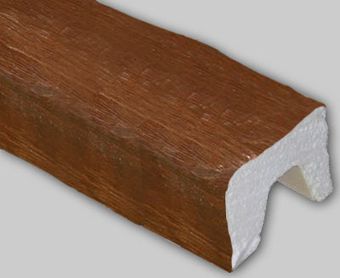
 Decorative beams
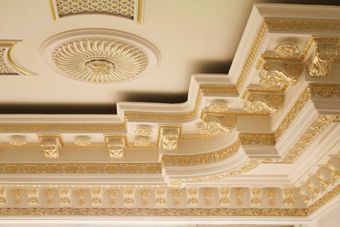 Smooth cornices
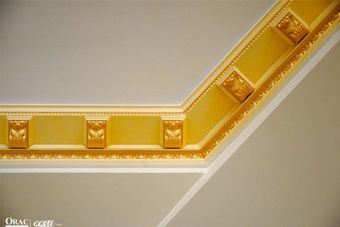 Cornices with ornaments
 Concealed lighting cornices
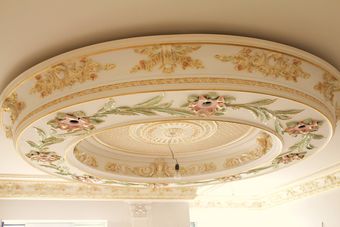 Polyurethane domes
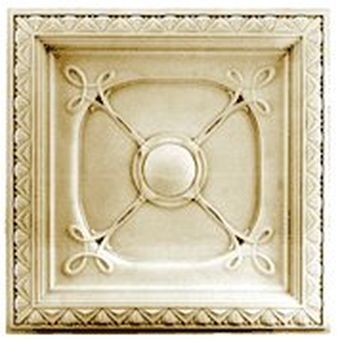 Ceiling tiles
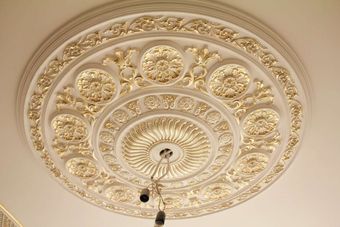 Decorative rosettes
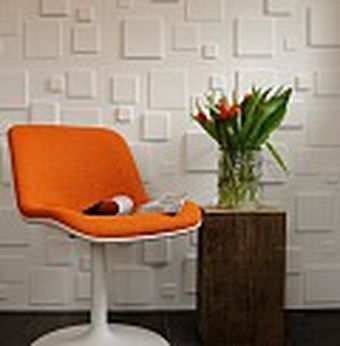 3D panels
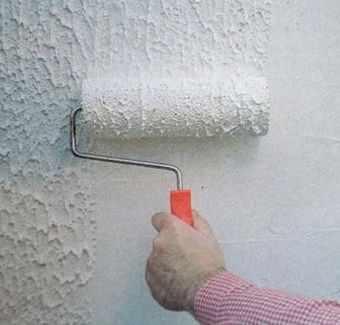 Liquid wallpaper
 Door frame
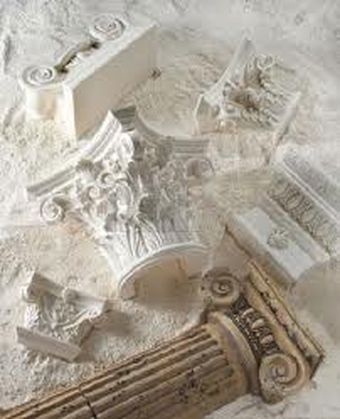 Columns and semi-columns
 Moldings
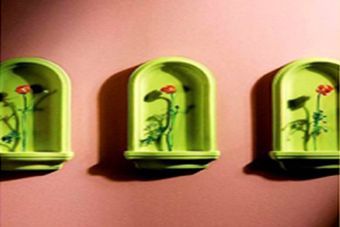 Wall niches
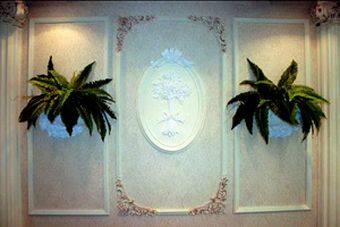 Ornaments, panels
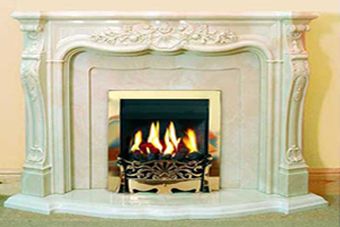 Fireplace panels
 Pilasters
 Corner elements
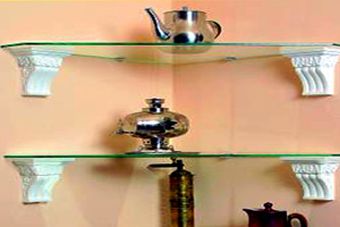 Brackets, consoles
 Photo paintings
 Texture wallpaper
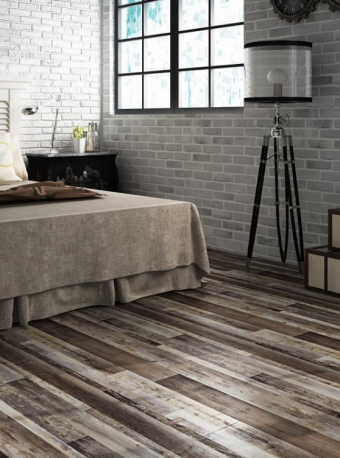 Self-adhesive tiles
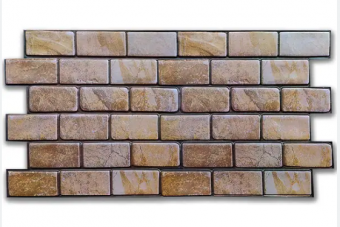 Decorative PVC sheet panels
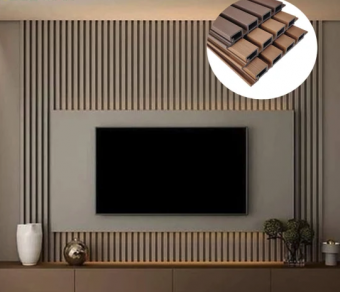 WPC Decorative Wall Slats
 Carpets
 Floor skirting boards
 Soft floor puzzle
 Self-adhesive skirting board
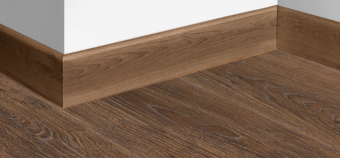 MDF plinth
 Self-adhesive carpet
 Curtain rods
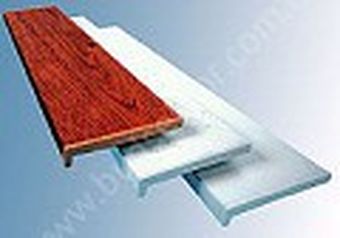 Window sills
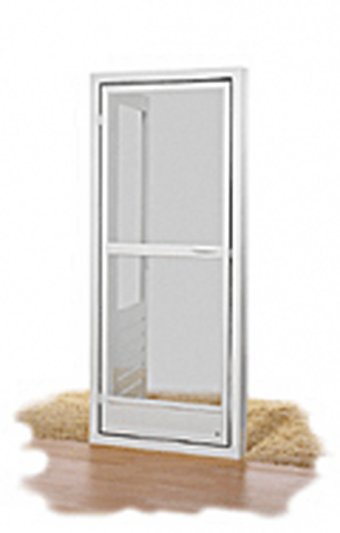 Mosquito net
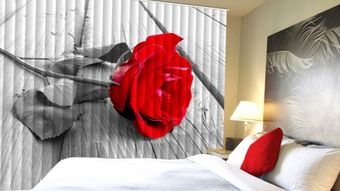 Photoblinds
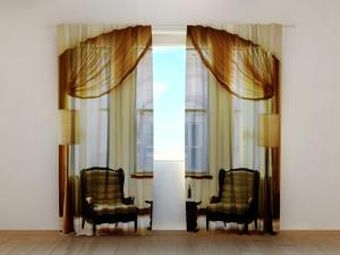 Photo curtains
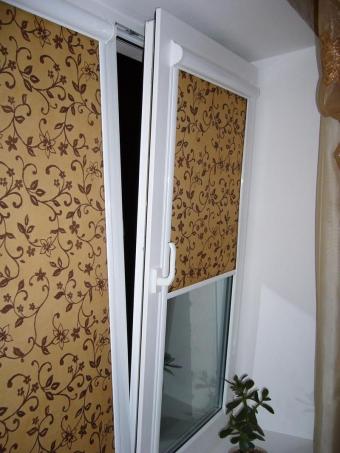 Roller blinds (roller blinds)
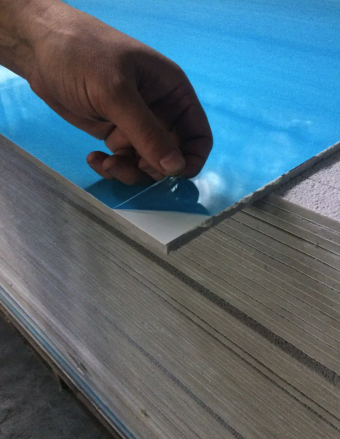 Sandwich panels
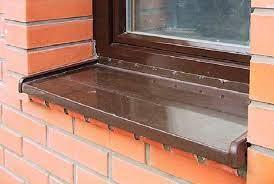 Window sills
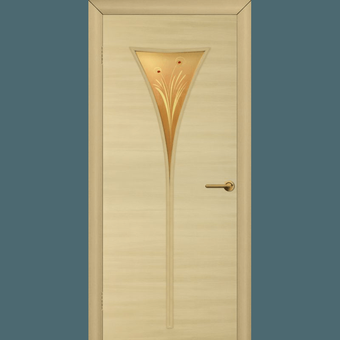 Doors Omis
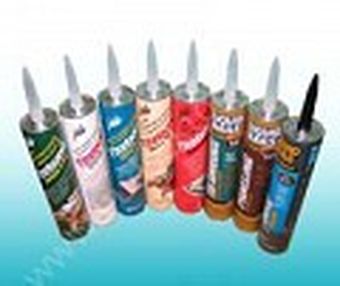 Liquid nails and glue
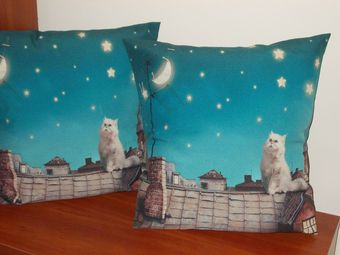 Photobed
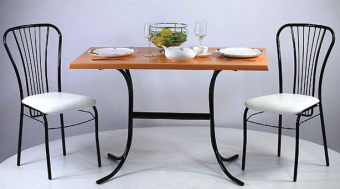 Table tops
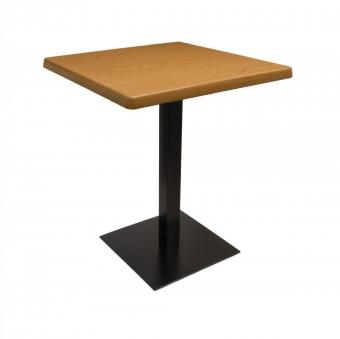 Table supports
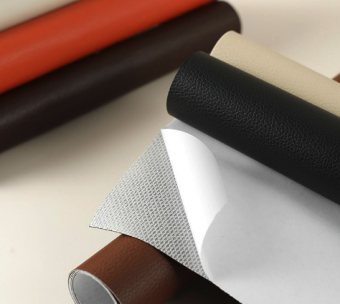 Self-adhesive eco-leather
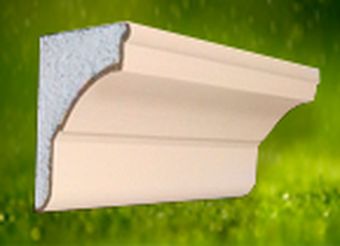 Cornices for facade
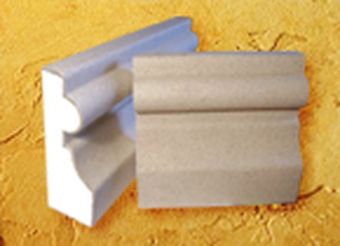 Moldings for facade
 Columns, pilasters
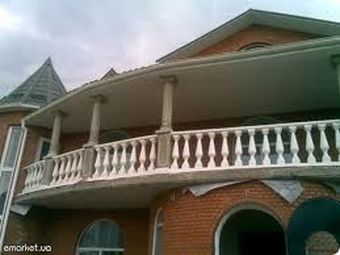 Balustrades, balusters
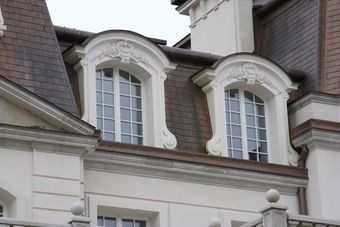 Window framing
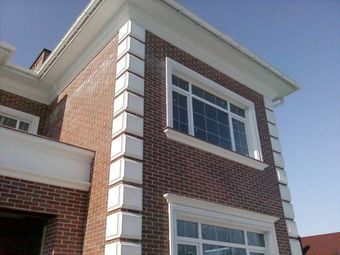 Bassages, rustics, castles
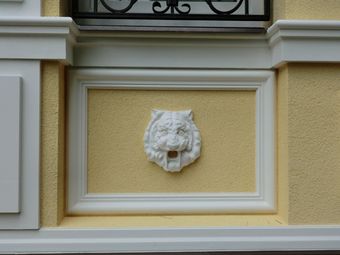 Sandriks, decor, bas-relief
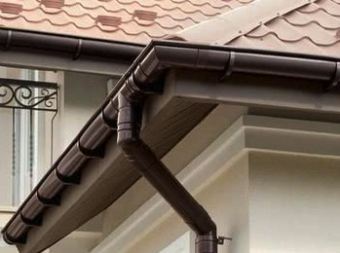 Drainage systems
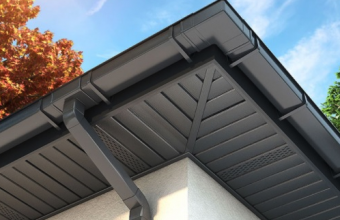 Soffits
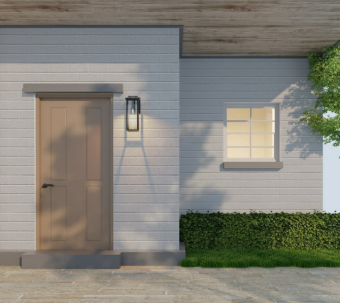 Facade panels
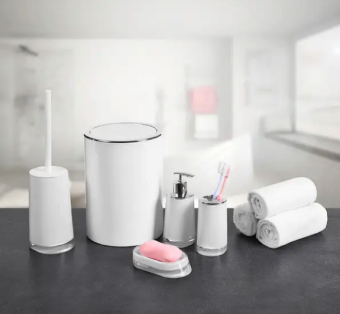 Bathroom accessories
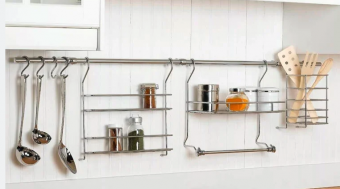 Kitchen accessories
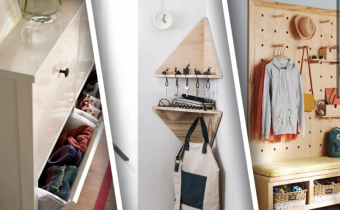 Accessories for the hallway
 Accessories for cosmetics
 Household chemicals
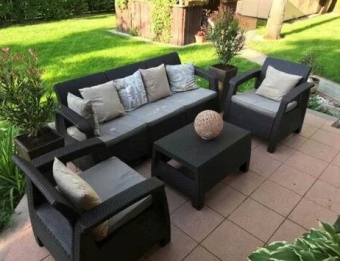 Materials for street decoration
Installation of polyurethane - how to do it yourself
When purchasing decorative elements made of polyurethane, we are faced with the question: “How not to spoil the purchased product, but to install it efficiently and receive aesthetic pleasure after the repair process?” Buyers often ask: “Where and how can polyurethane products be used? How can I install the profile myself?” We are ready to give answers to these and other questions.
First, you should understand what polyurethane is? The full name of polyurethane is polyurethane foam. This is foamed plastic, which is obtained as a result of chemical reactions occurring when mixing such components (water, polyester, diisacionite, emulsifiers and catalysts). It is wear-resistant, resistant to mechanical stress, environmentally friendly, lightweight, resistant to temperature changes (melts at t 3000 C), does not absorb odors and moisture, which allows it to be used in the bathroom, kitchen, its density is equal to wood, an advantage over before the latter, it is that it does not deform or crack over time. In order to install decorative elements made of polyurethane, such as cornices and moldings, we will need the following tools:
miter box (a tool for cutting internal and external corners); fine-toothed hacksaw; tape measure (up to 3 m); pencil; joining glue (used to connect elements together); mounting adhesive (for connecting the decor to the wall and ceiling); putty knife; fine-grained sandpaper;
When installing elements over 10 cm, anchor nails are used for better fixation, and if the house has concrete walls, use a hammer drill and self-tapping screws. Before starting work with cornices and moldings made of polyurethane, the products must be kept in the room where installation work will take place for 24 hours, the surface must first be prepared, it must be smooth, dry and dust-free, the strength of the fastening and the duration of operation depend on this. The temperature at which the work should be carried out should be room temperature and do not forget to take into account the losses that will occur when cutting corners and rapport, they can range from 30-50 cm per corner. The next step is marking, which is best done along the wall with a cord, take the profile and apply mounting adhesive to the side surfaces of the element and spread it over the surface. Place the element against the wall and secure it. To connect the profiles, use joint adhesive; apply it in excess to fill the joint cavity. To prevent the seams from coming apart, we recommend securing them with nails at a distance of 4 cm from the gluing site. After drying (after 24 hours), the nails are removed along with the remaining glue; it would not be a mistake to recess them into the profile and putty the fastening points. The installation of the decorative element is completed, now we need to paint it, for this we will need a brush, for uniform application we use a spray gun, covering not only the decorative elements, but also painting the ceiling. Any paints can be used except those containing acetone.
When shrinking new houses, there is a discrepancy between the joints; the problem that has arisen can be corrected by replacing a badly damaged link, or using glue and putty, removing the old glue from the seam and filling the space with new joint glue; after drying, the joint area is puttied with putty based on PVA glue, sanded and painted. To install decorative elements in a damp room, you must avoid contact with surfaces not protected by primer. To do this, it is necessary to prime the product after fastening and paint it.